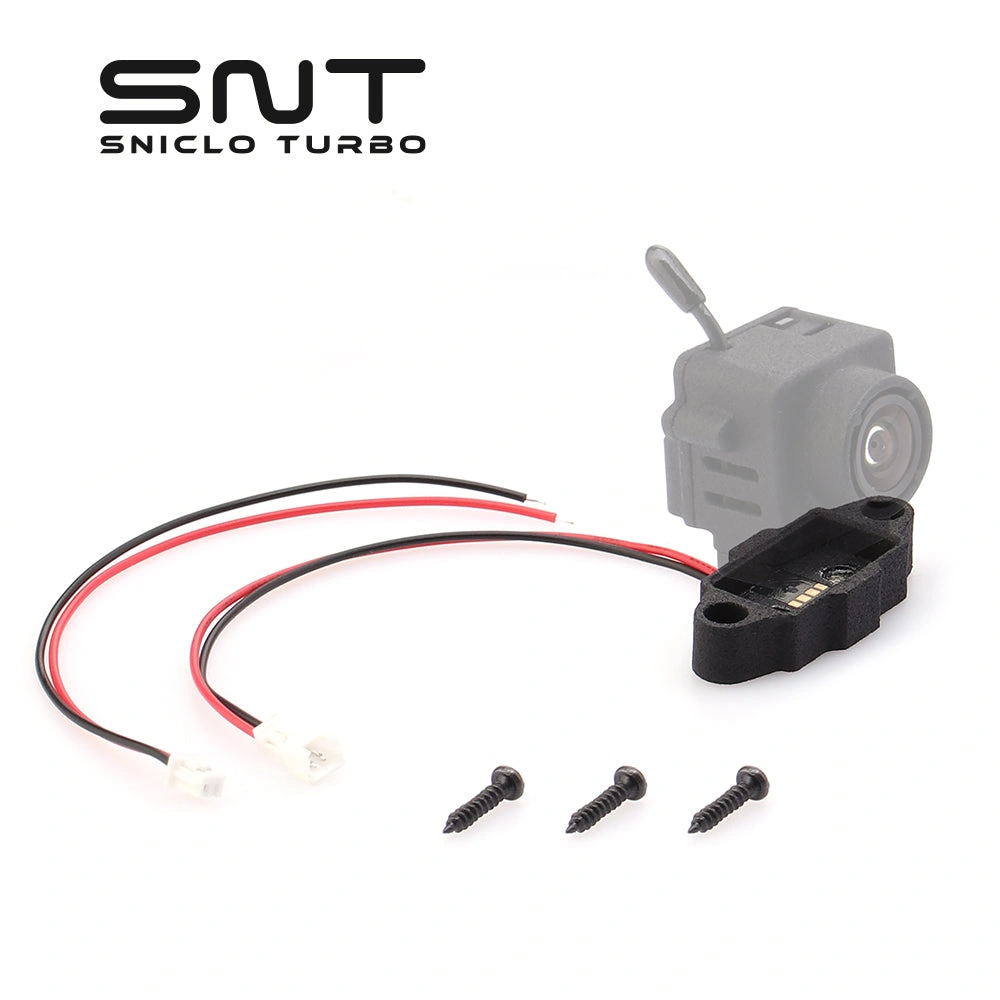
DIY Camera Magnetic Base Build Your Own Easy Mount System

DIY Camera Magnetic Base: Build Your Own Easy Mount System
Tired of fiddling with complicated camera mounts? Want a quick and easy solution for your FPV or action camera? This DIY guide will show you how to build a simple yet effective magnetic base system. It's perfect for rapid deployment and versatile placement. We're talking about something that's not only convenient but also incredibly lightweight and compact. Let's get started!

The Race480 FPVBOX Advantage
This guide is inspired by the compact design of the Race480 FPVBOX. This little powerhouse, measuring just 61.5x36x26mm and weighing a mere 2.3g, proves that you don't need bulky equipment for top-notch performance. Think of it as the blueprint for your mount – small, efficient, and effective. The key is portability.

What You'll Need
- Strong Neodymium Magnets (various sizes are useful)
- Small Screws (matching your camera's mounting holes and magnet sizes)
- A 2-pin SH1.25 Connector (for power – optional, but handy)
- Epoxy or Super Glue (for securing the magnets)
- A Camera (duh!)
- A way to mount your magnetic base to things! Consider using a metal plate to easily secure to surfaces.

Assembly Steps
- Prepare the Base: Decide on the mounting surface for your magnetic base. Consider shape and size.
- Attach the Magnets: Carefully glue or epoxy the magnets to your base. Be mindful of polarity – make sure your camera and the base magnets attract.
- Secure the Camera: Attach your camera to the base using screws.
- Wiring (Optional): If you are using the SH1.25 connector, solder it to your camera's power leads.
This is a great starting point. From here, you can adapt the build to fit your specific needs and create your own unique camera mounting system. The sky is the limit! Happy building!

